
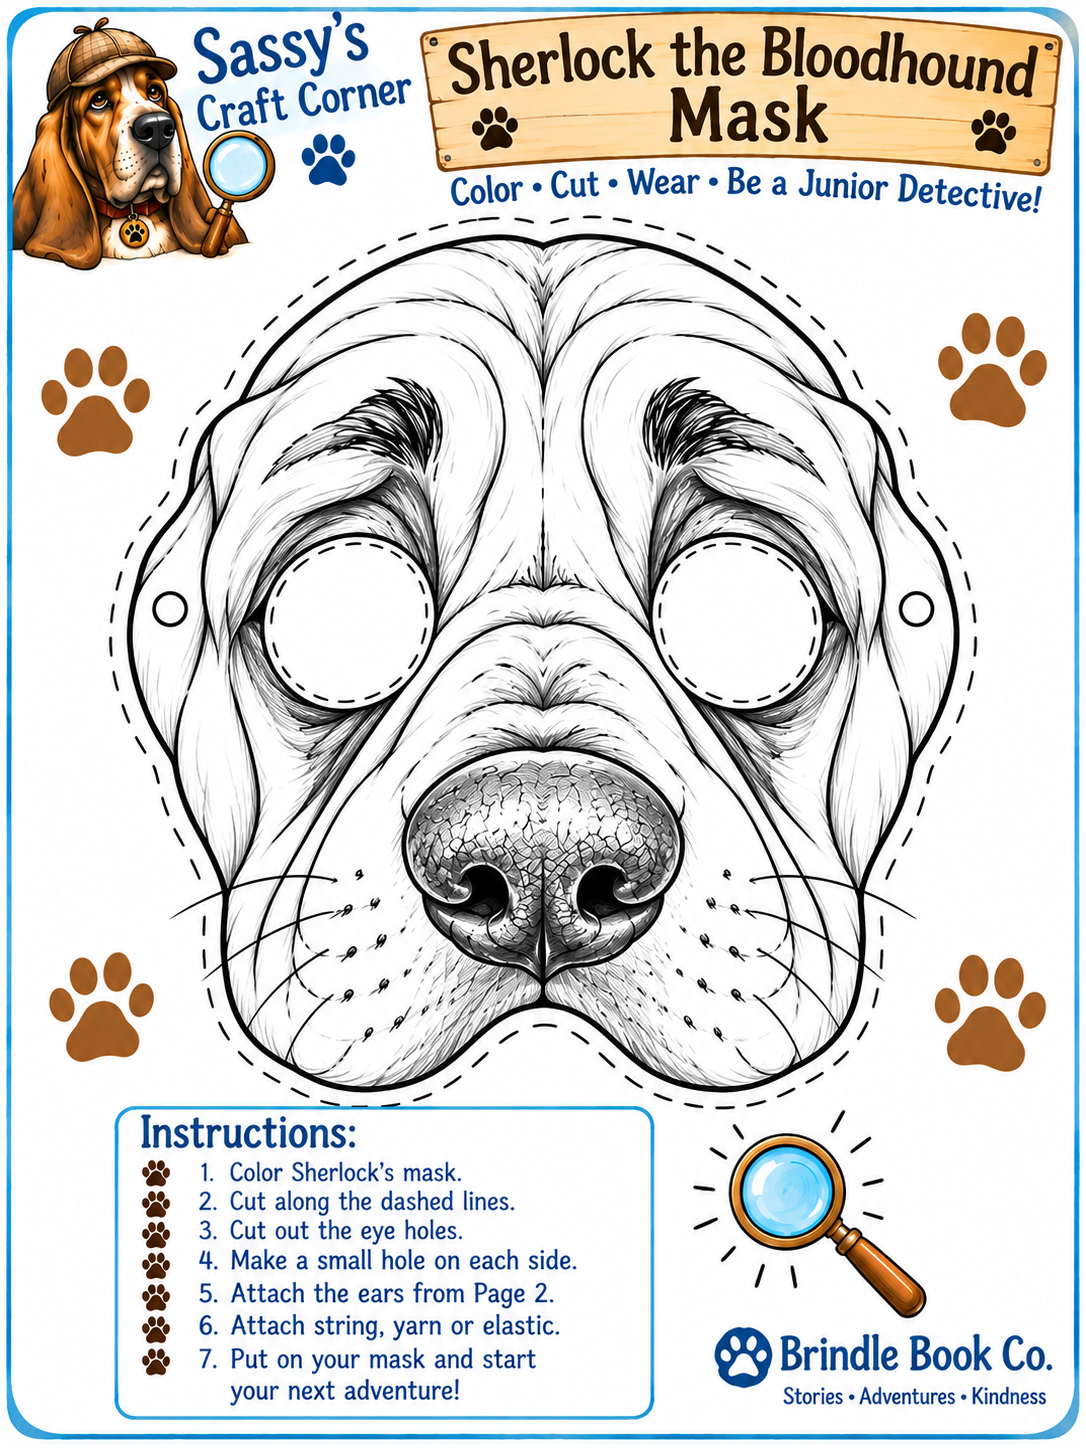
🐾 Sherlock the Bloodhounds Mask
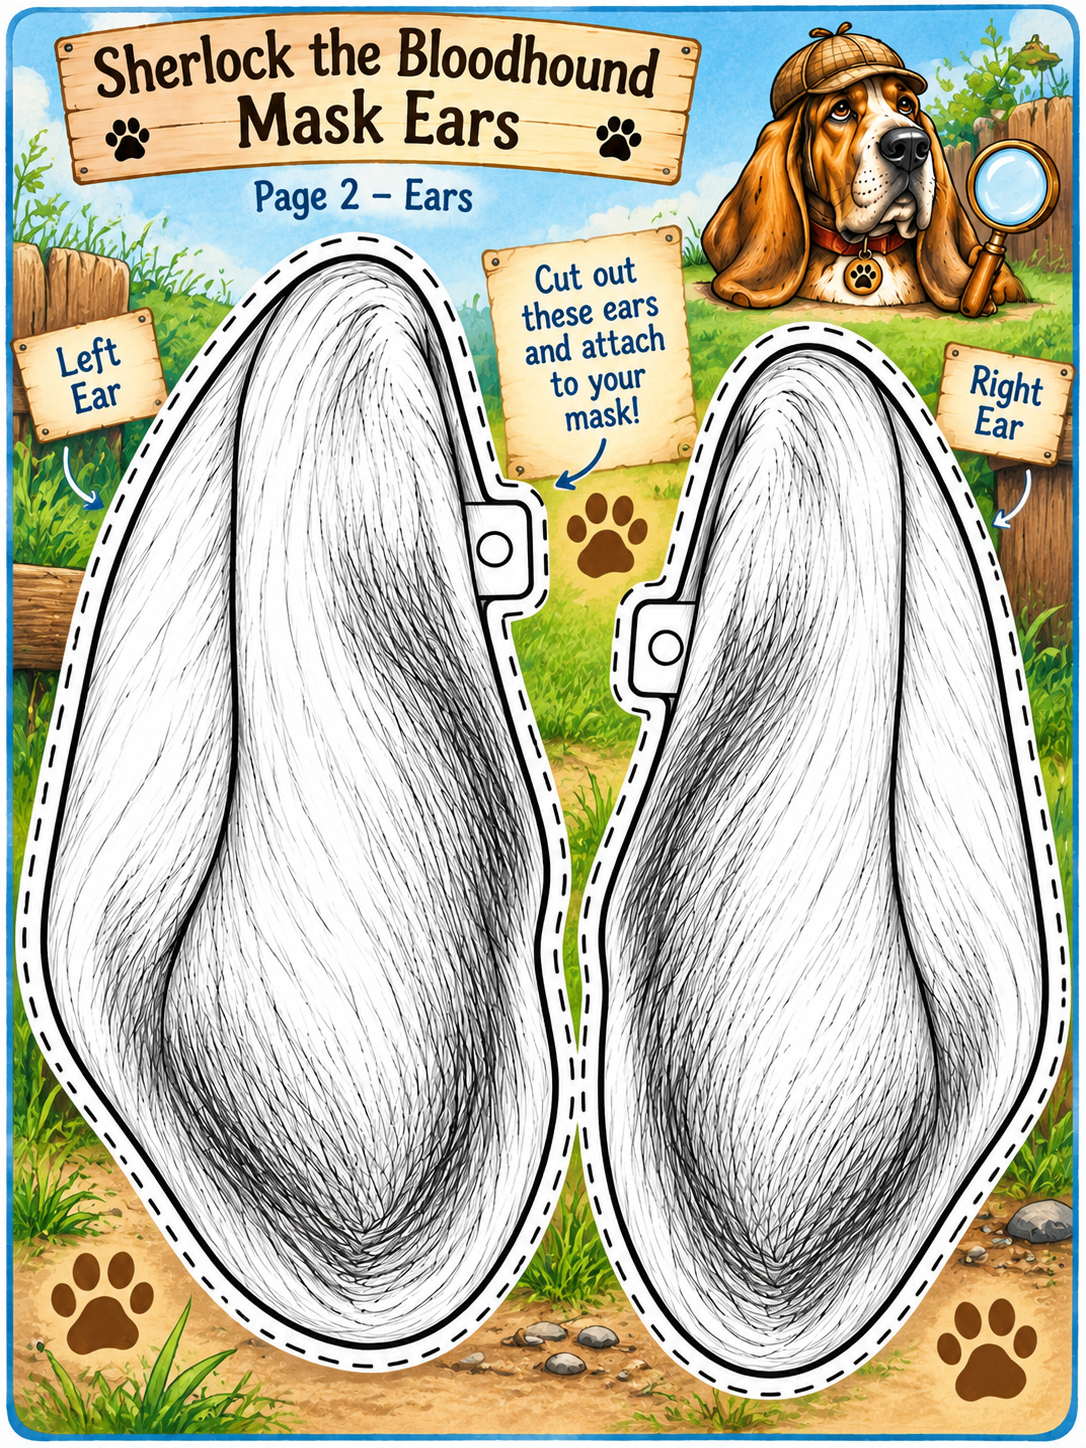
Put on your detective ears and get ready to investigate! Color and cut out Sherlock’s mask, then add his extra-long Bloodhound ears from Page 2. Attach string, yarn, or elastic, and you’re ready to sniff out clues just like Sherlock!
You’ll Need:
• Crayons, markers, or colored pencils
• Scissors
• String, yarn, or elastic
• Tape or glue
• A curious detective nose!
Junior Detective Tip: Ask a grown-up for help cutting out the eye holes and making the small attachment holes.
Color • Cut • Wear • Investigate!
FREE



🦋 Miss Cindy’s Butterfly Wings
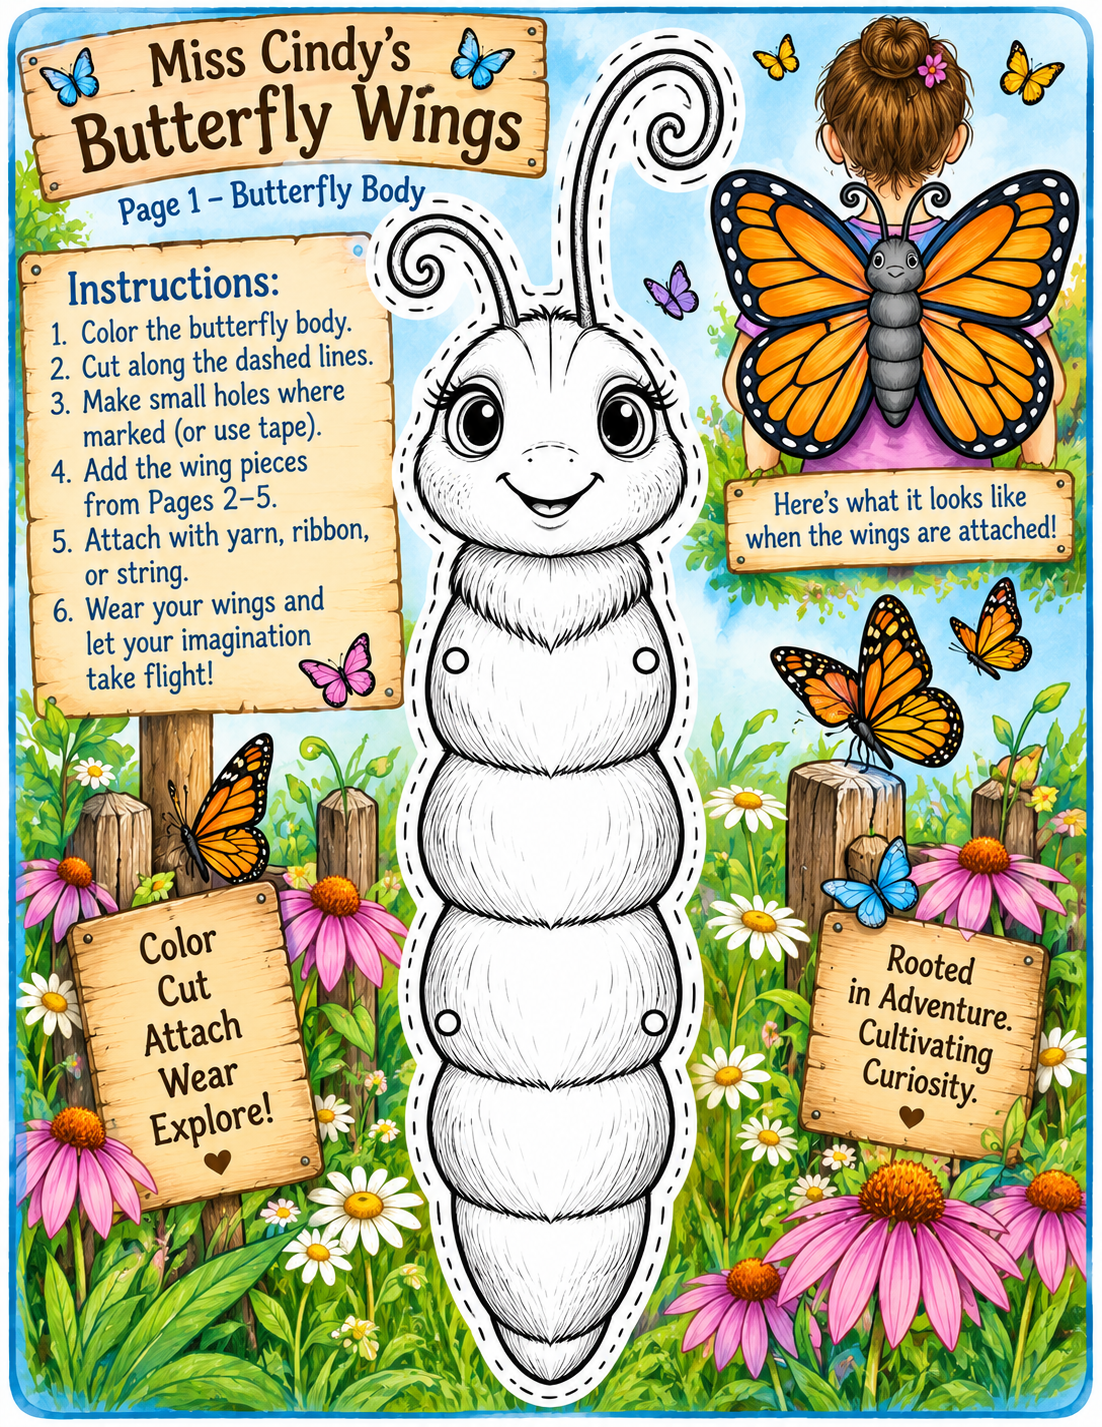
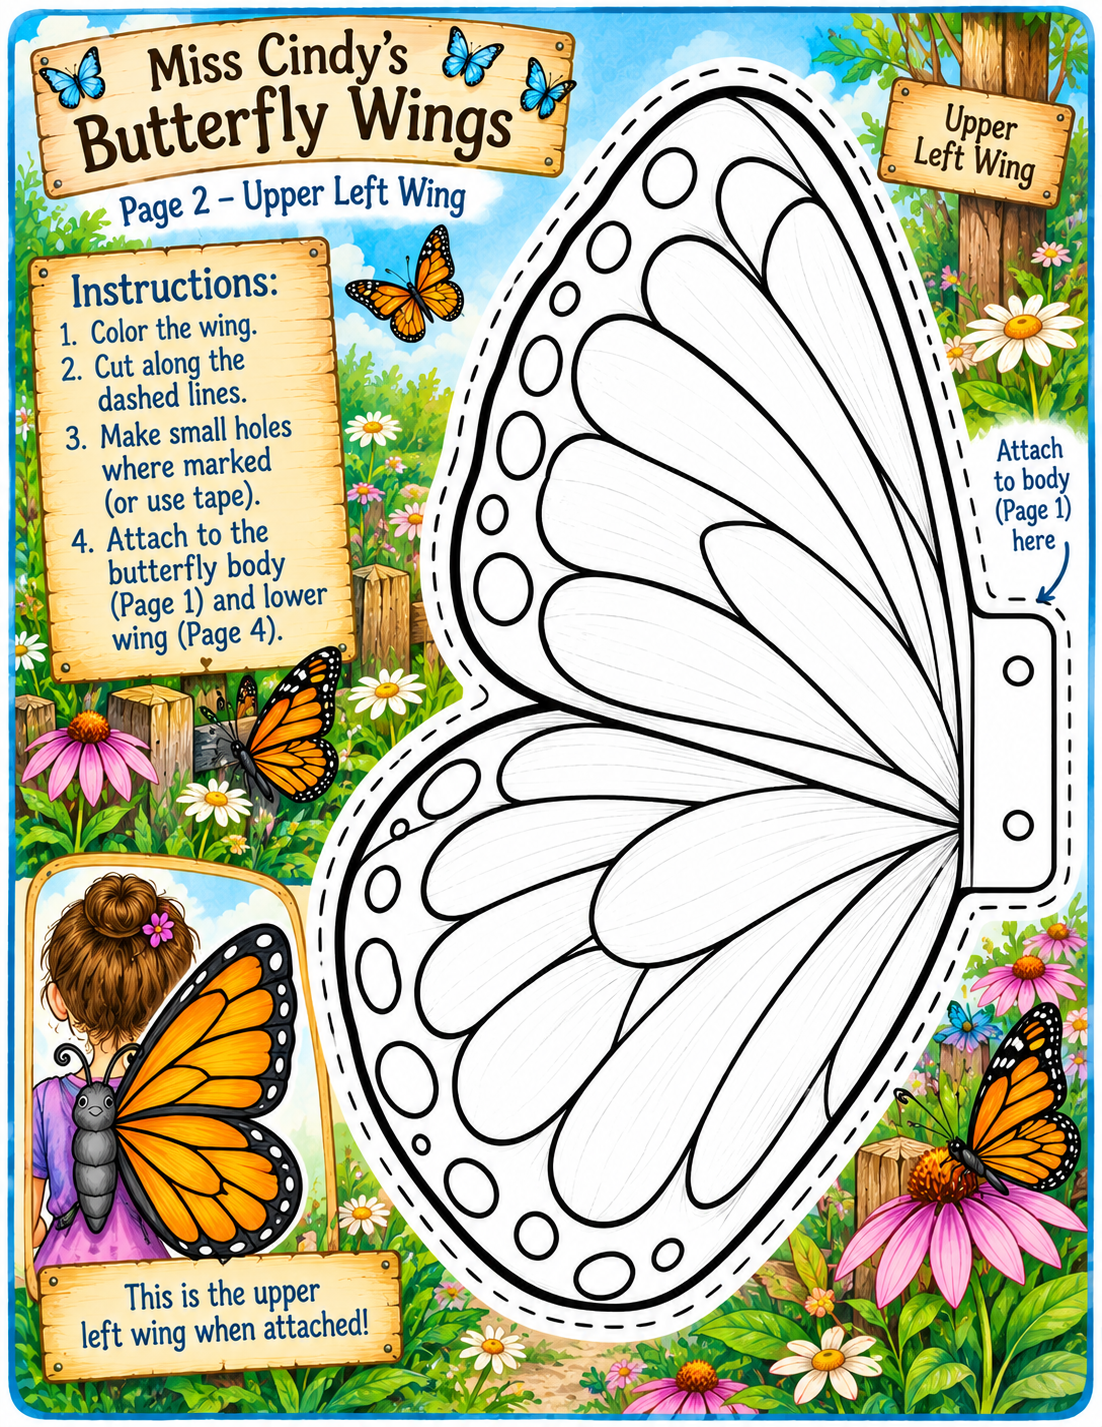
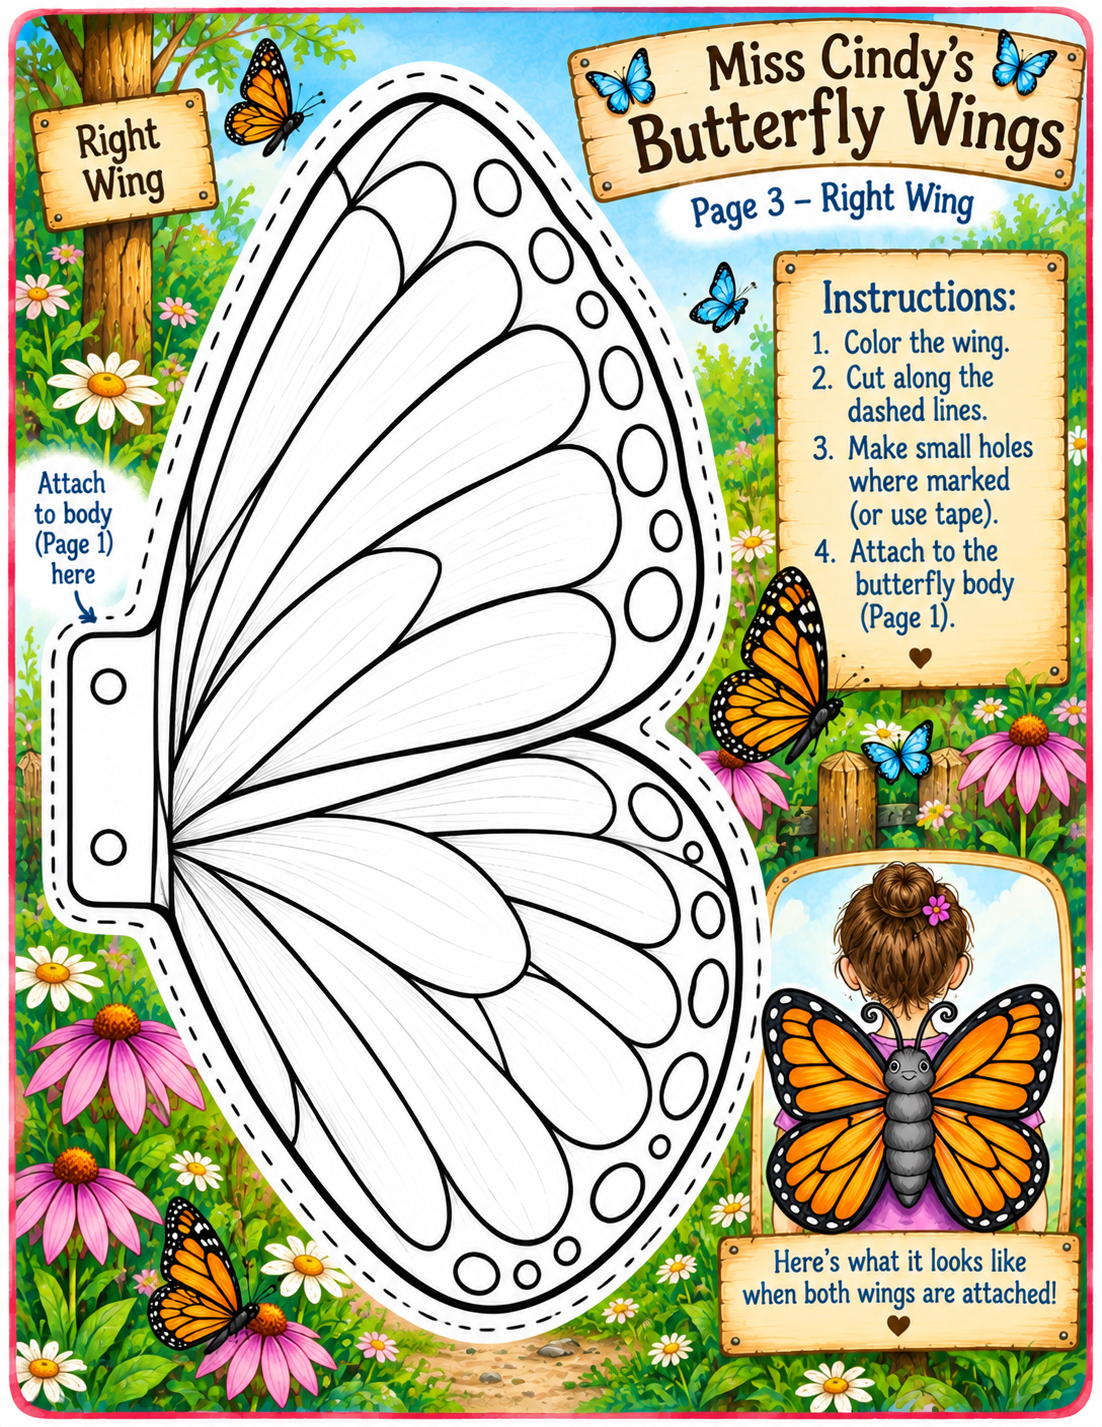
Create your own set of wearable butterfly wings! Color them like a monarch, invent your own butterfly species, or use every color in the crayon box. This craft uses three printed pages: one butterfly body, one left wing, and one right wing.
You’ll need: the three printed craft pages, crayons/colored pencils/markers, scissors, tape or glue, a hole punch (optional), and yarn, ribbon, or soft elastic for wearing the wings.
How to make your wings:
Color all three pieces first. Color the butterfly body on Page 1 and both wings on Pages 2 and 3. The colorful pictures around the templates are examples—you can make your butterfly look any way you want.
Cut out the butterfly body. Follow the dashed line around the outside of the body. Do not cut the body into separate sections.
Cut out both wings. Follow the dashed outside line on each wing. Keep the rectangular attachment tab connected to each wing.
Attach the wings to the body. Place the left wing behind the left side of the butterfly body and the right wing behind the right side. Line up the attachment areas and secure them well with tape, glue, or the marked holes.
Strengthen the back. For wings that will actually be worn, add a little extra tape where each wing joins the body. A piece of lightweight cardboard or cardstock behind the center can also make the finished wings sturdier.
Add the straps. With an adult’s help, make the marked holes in the butterfly body. Thread yarn, ribbon, or soft elastic through the holes to create two shoulder loops, like backpack straps. Adjust them so the wings sit comfortably on the child’s back.
Put them on and explore! Once everything is secure, slip your arms through the straps and let Miss Cindy’s butterfly adventure begin.
Grown-up tip: Regular printer paper works for coloring, but cardstock will make stronger wearable wings. If you're using regular paper, gluing the finished pieces onto lightweight poster board before cutting them out will help them last longer.
FREE


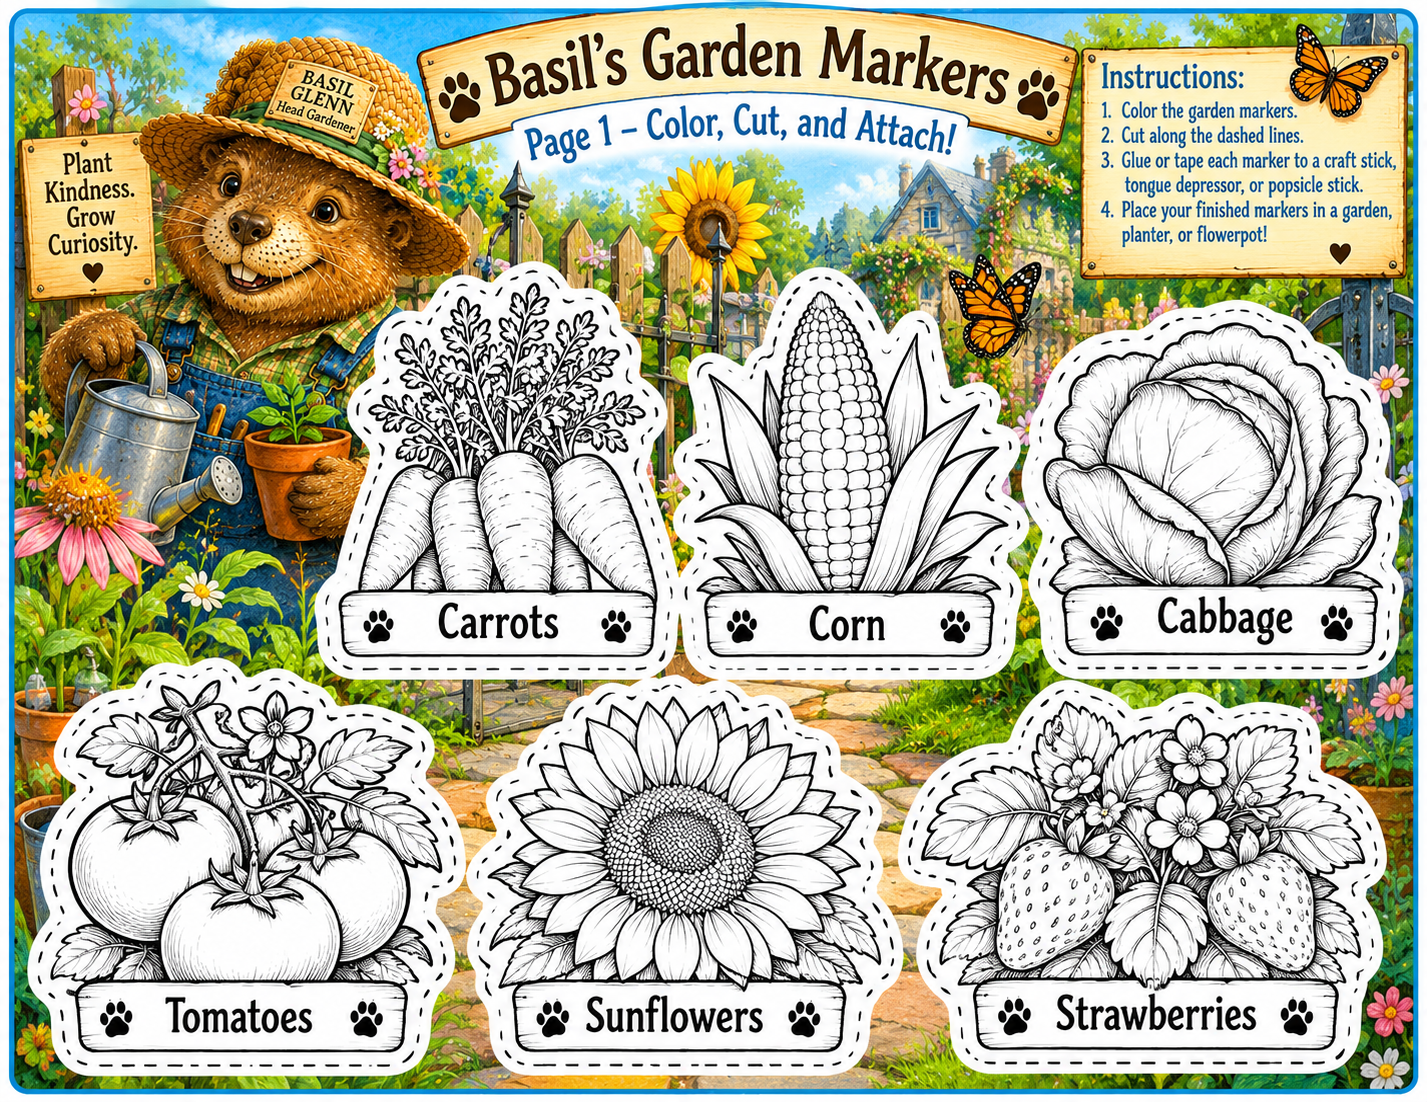
🌱 Basil's Garden Markers
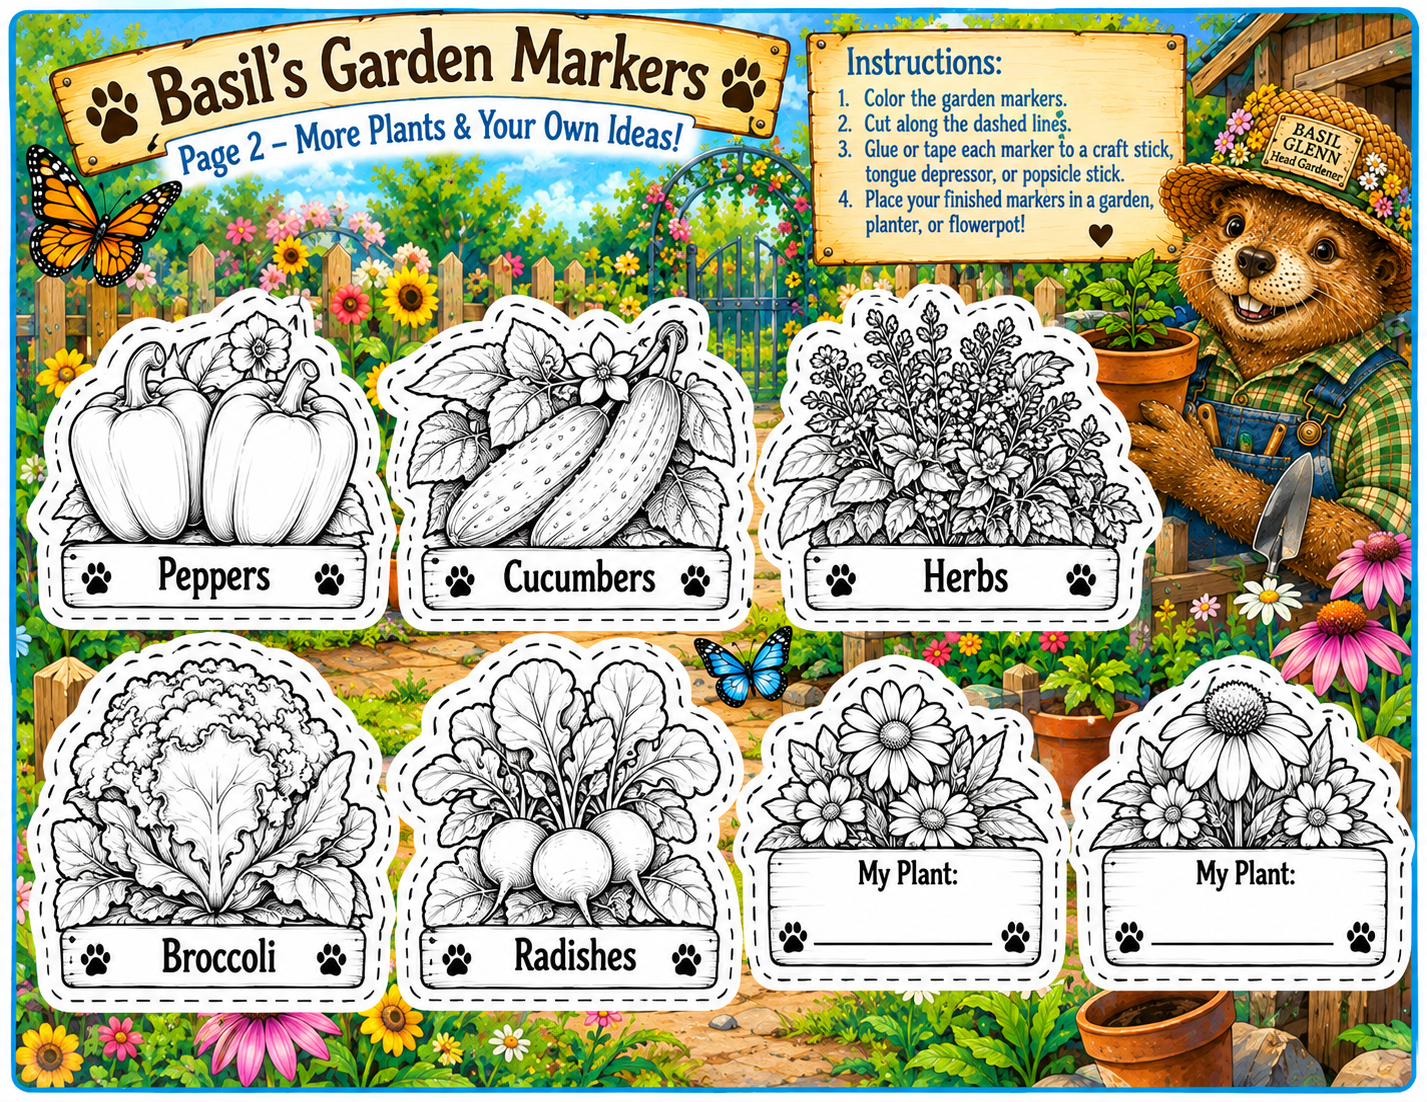
Help Basil keep the garden organized! Color and cut out the plant markers, then attach each one to a craft stick, tongue depressor, or popsicle stick. Use them to label vegetables, herbs, flowers, or even plants growing in pots.
Basil left a couple of blank markers on Page 2, too, so young gardeners can add something they're growing themselves.
Garden Tip: Try planting one of the foods pictured on your markers and watch it grow. You might even discover something new to taste!


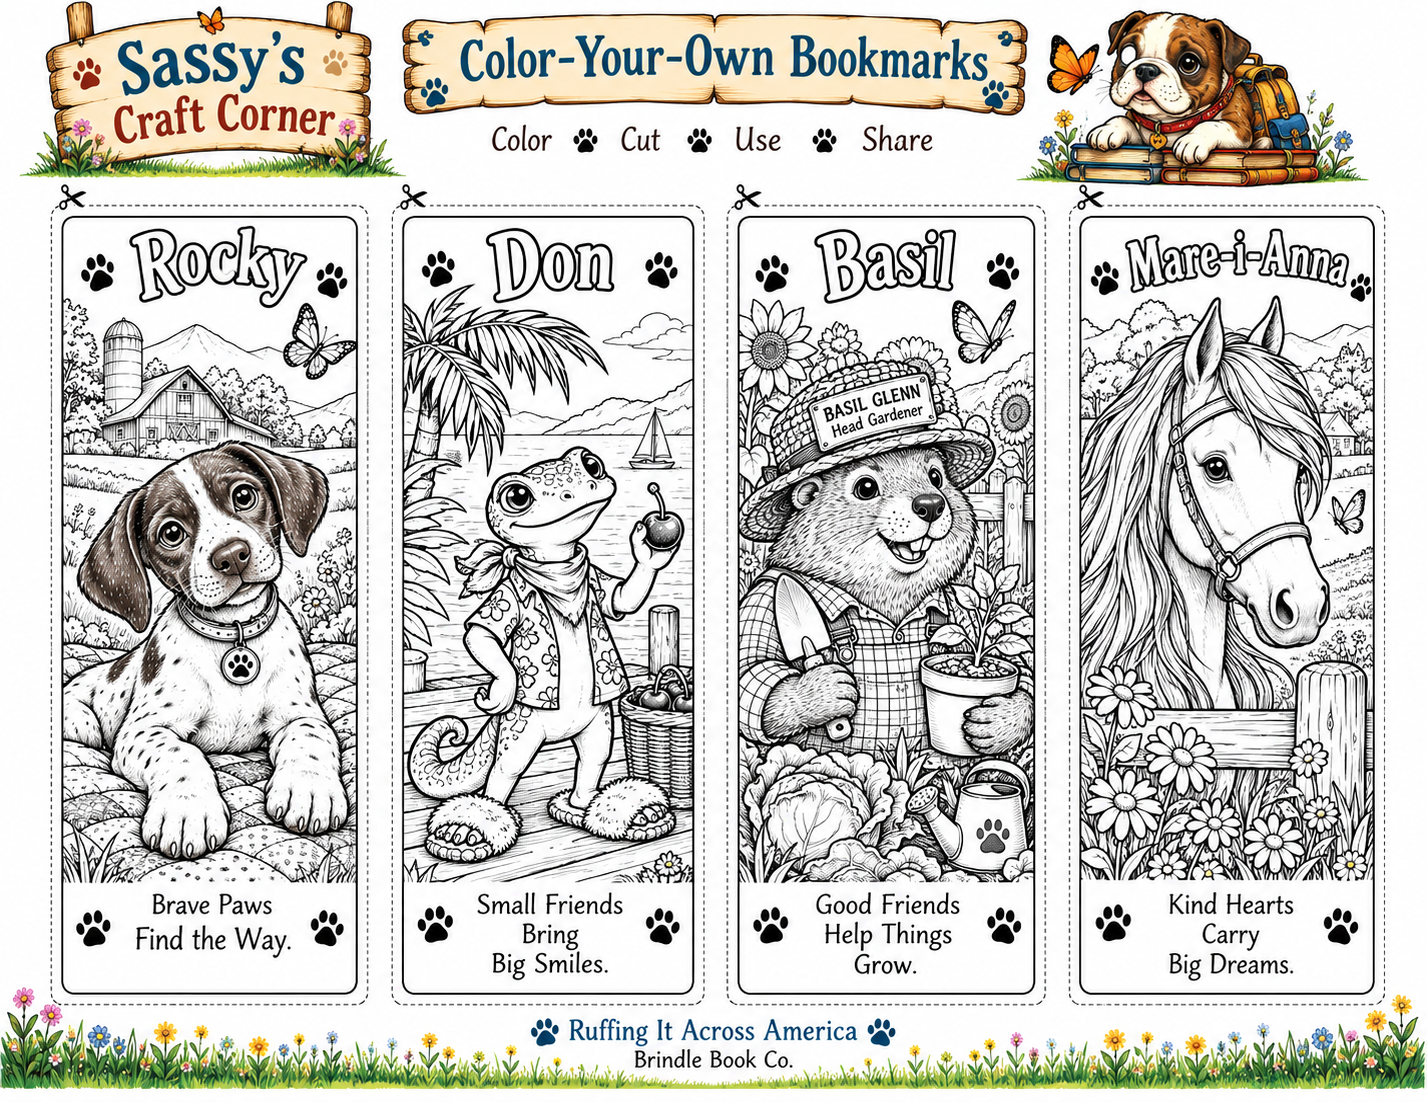
🔖 Color-Your-Own Character Bookmarks
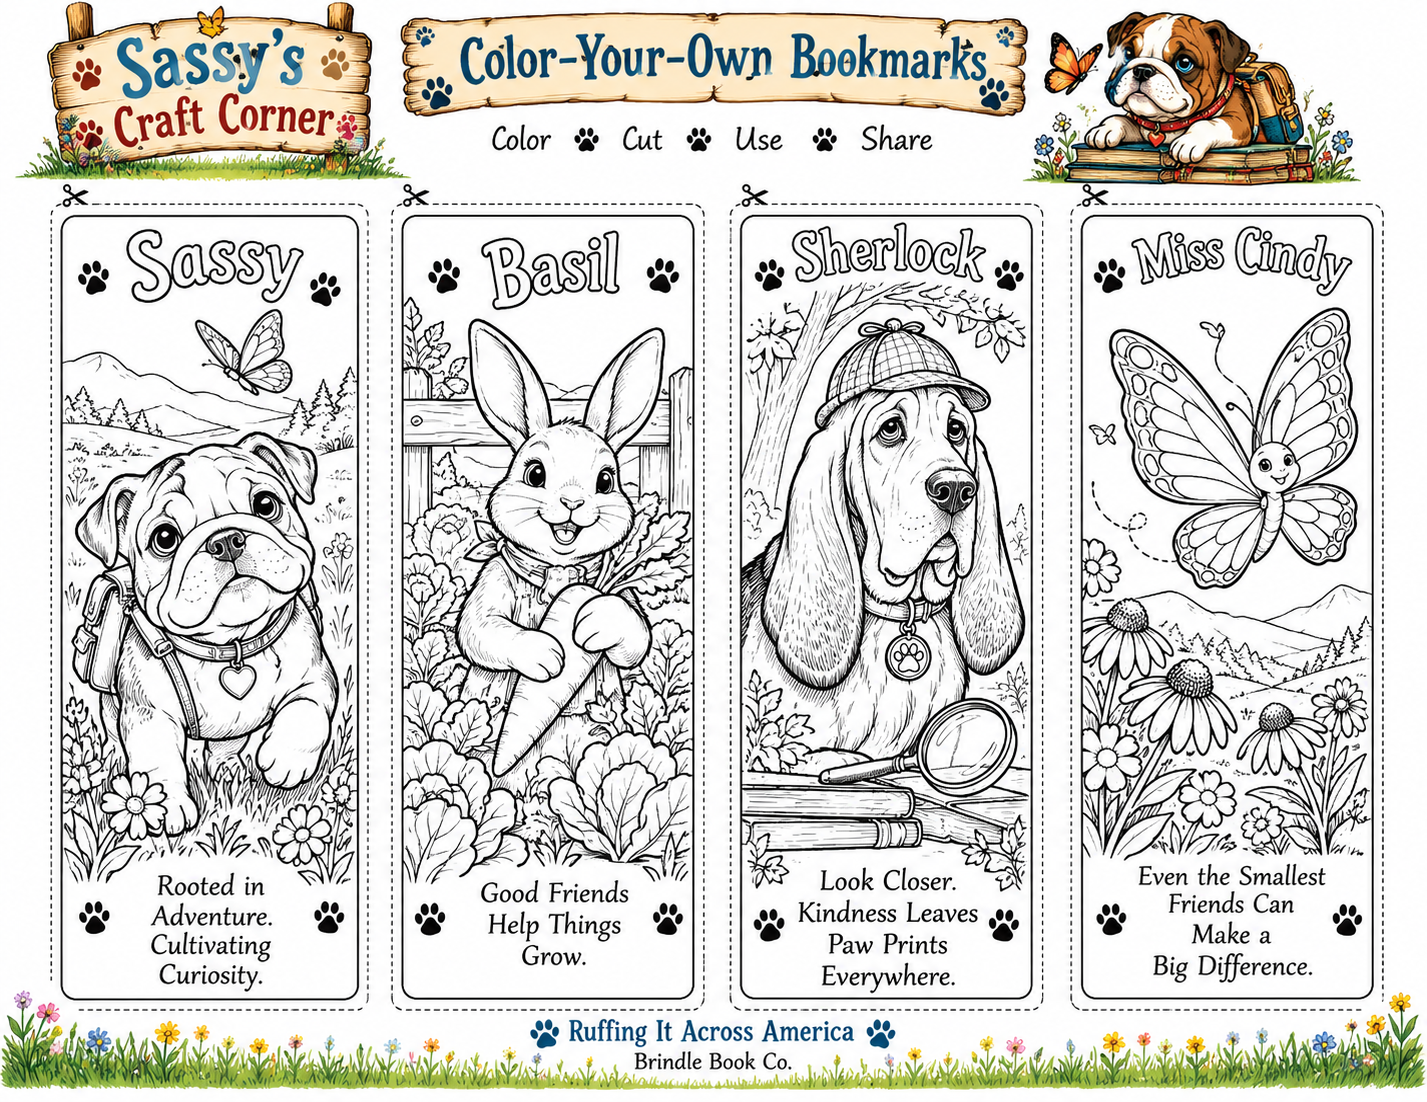
Bring a few friends from Ruffing It Across America along for your next reading adventure! These printable bookmarks feature some of the characters Sassy meets along the way.
Color each bookmark, cut carefully along the dashed lines, and tuck your favorite character inside your next book. Print them on cardstock for a sturdier bookmark, or use regular paper and glue it to lightweight cardstock before cutting.
Each bookmark includes a special message inspired by the character and their adventures.
Craft Tip: Add a piece of clear tape or laminate the finished bookmark to help it last through lots of adventures.
Color • Cut • Use • Share!


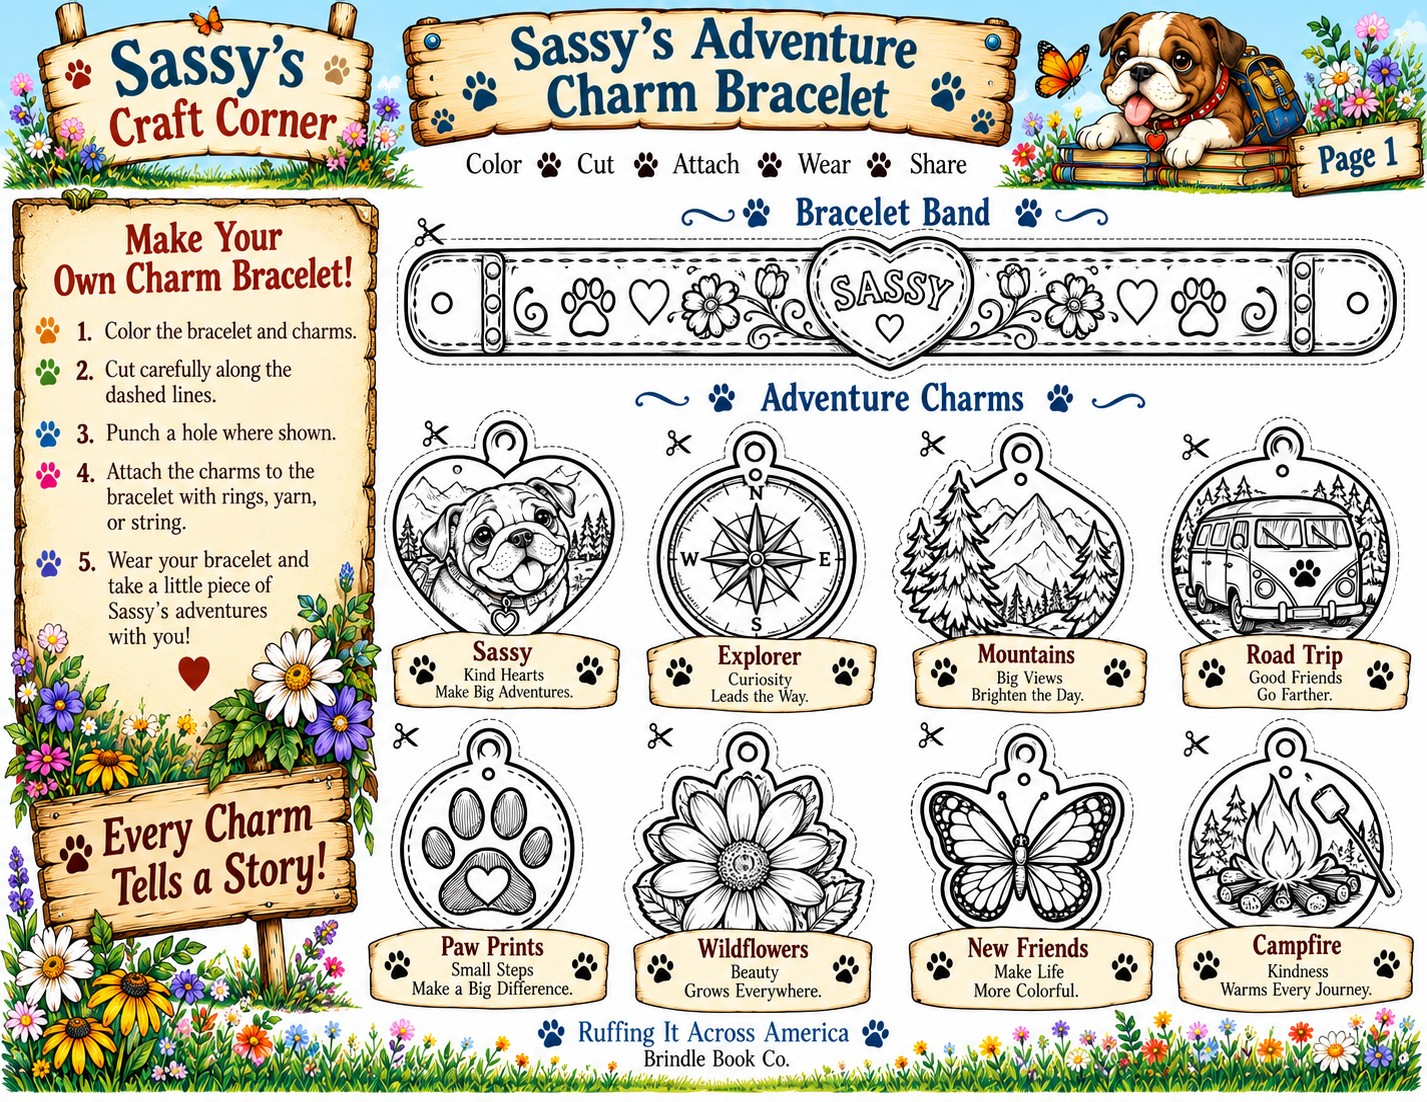
💕 Sassy’s Adventure Charm Bracelet
Every charm tells a story! Create your own adventure bracelet inspired by the charms Sassafras collects during her journey across America.
Start with the bracelet band on Page 1. Color it, carefully cut it out, and then choose your favorite charms to add. Punch the marked holes and attach the charms using small rings, yarn, ribbon, or string.
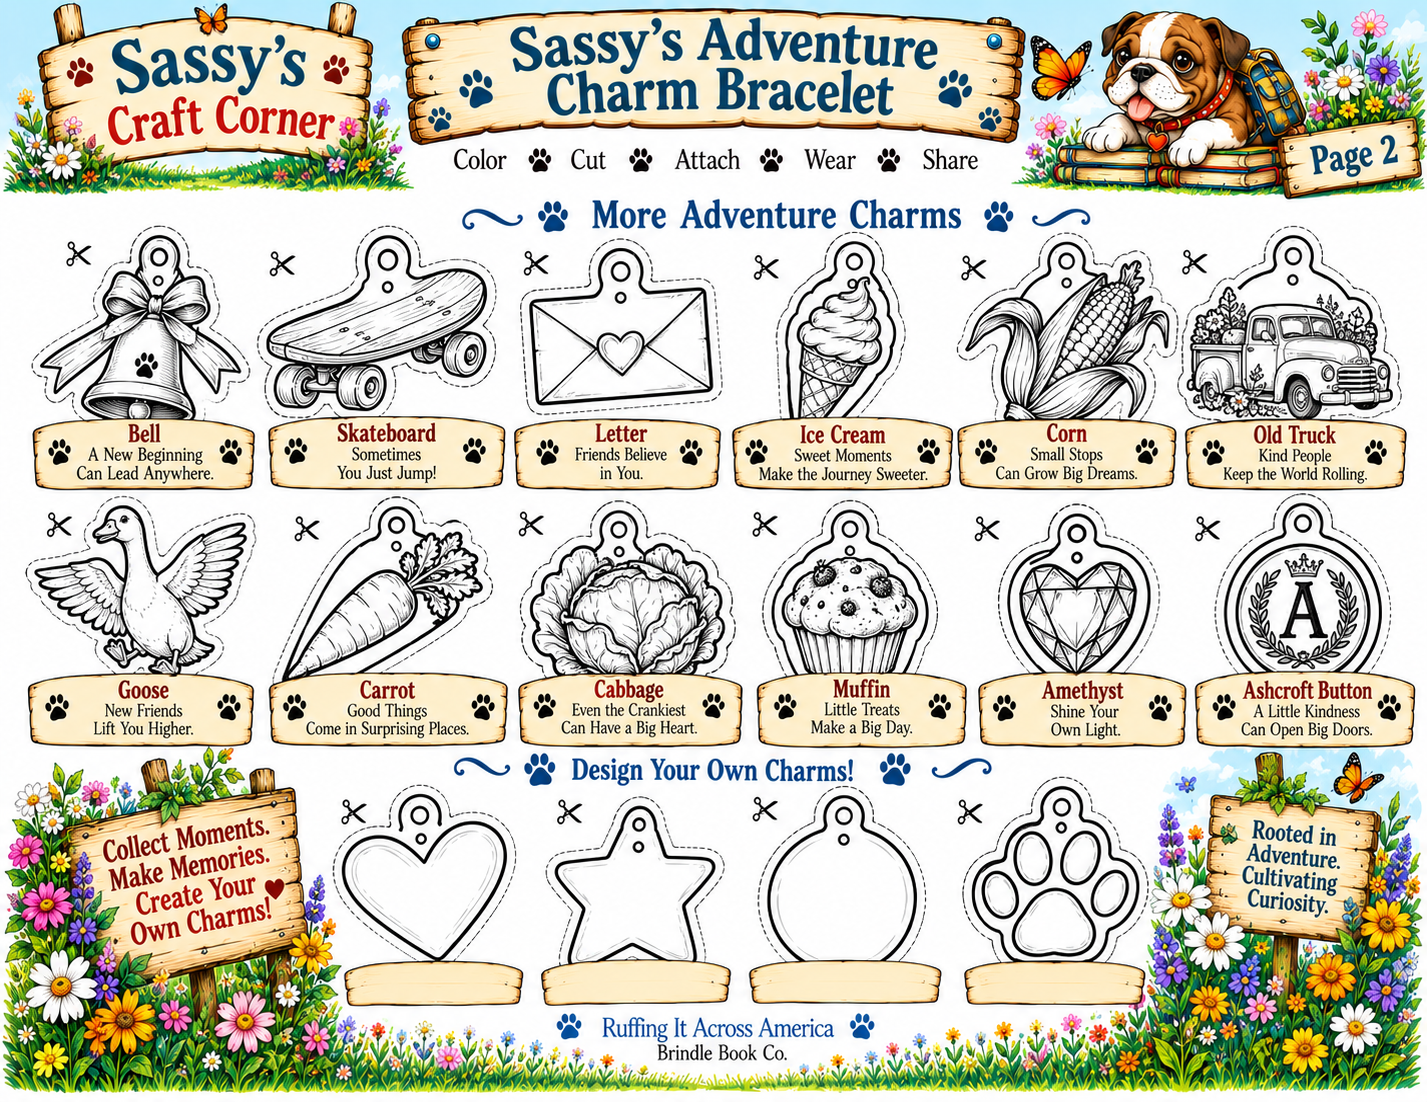
Page 2 includes more charms inspired by Sassy’s adventures, including the bell, skateboard, letter, ice cream, corn, old truck, goose, carrot, cabbage, muffin, amethyst, and Ashcroft button. There are also blank charms so young adventurers can design charms that represent their own special memories.
Craft Tip: Print the pages on cardstock for a sturdier bracelet and charms. A grown-up can help with cutting and punching the small holes.
And remember—your adventure doesn't have to look like Sassy's. Design a charm that tells part of your own story!
Color • Cut • Create • Collect!